

Clean High to Low
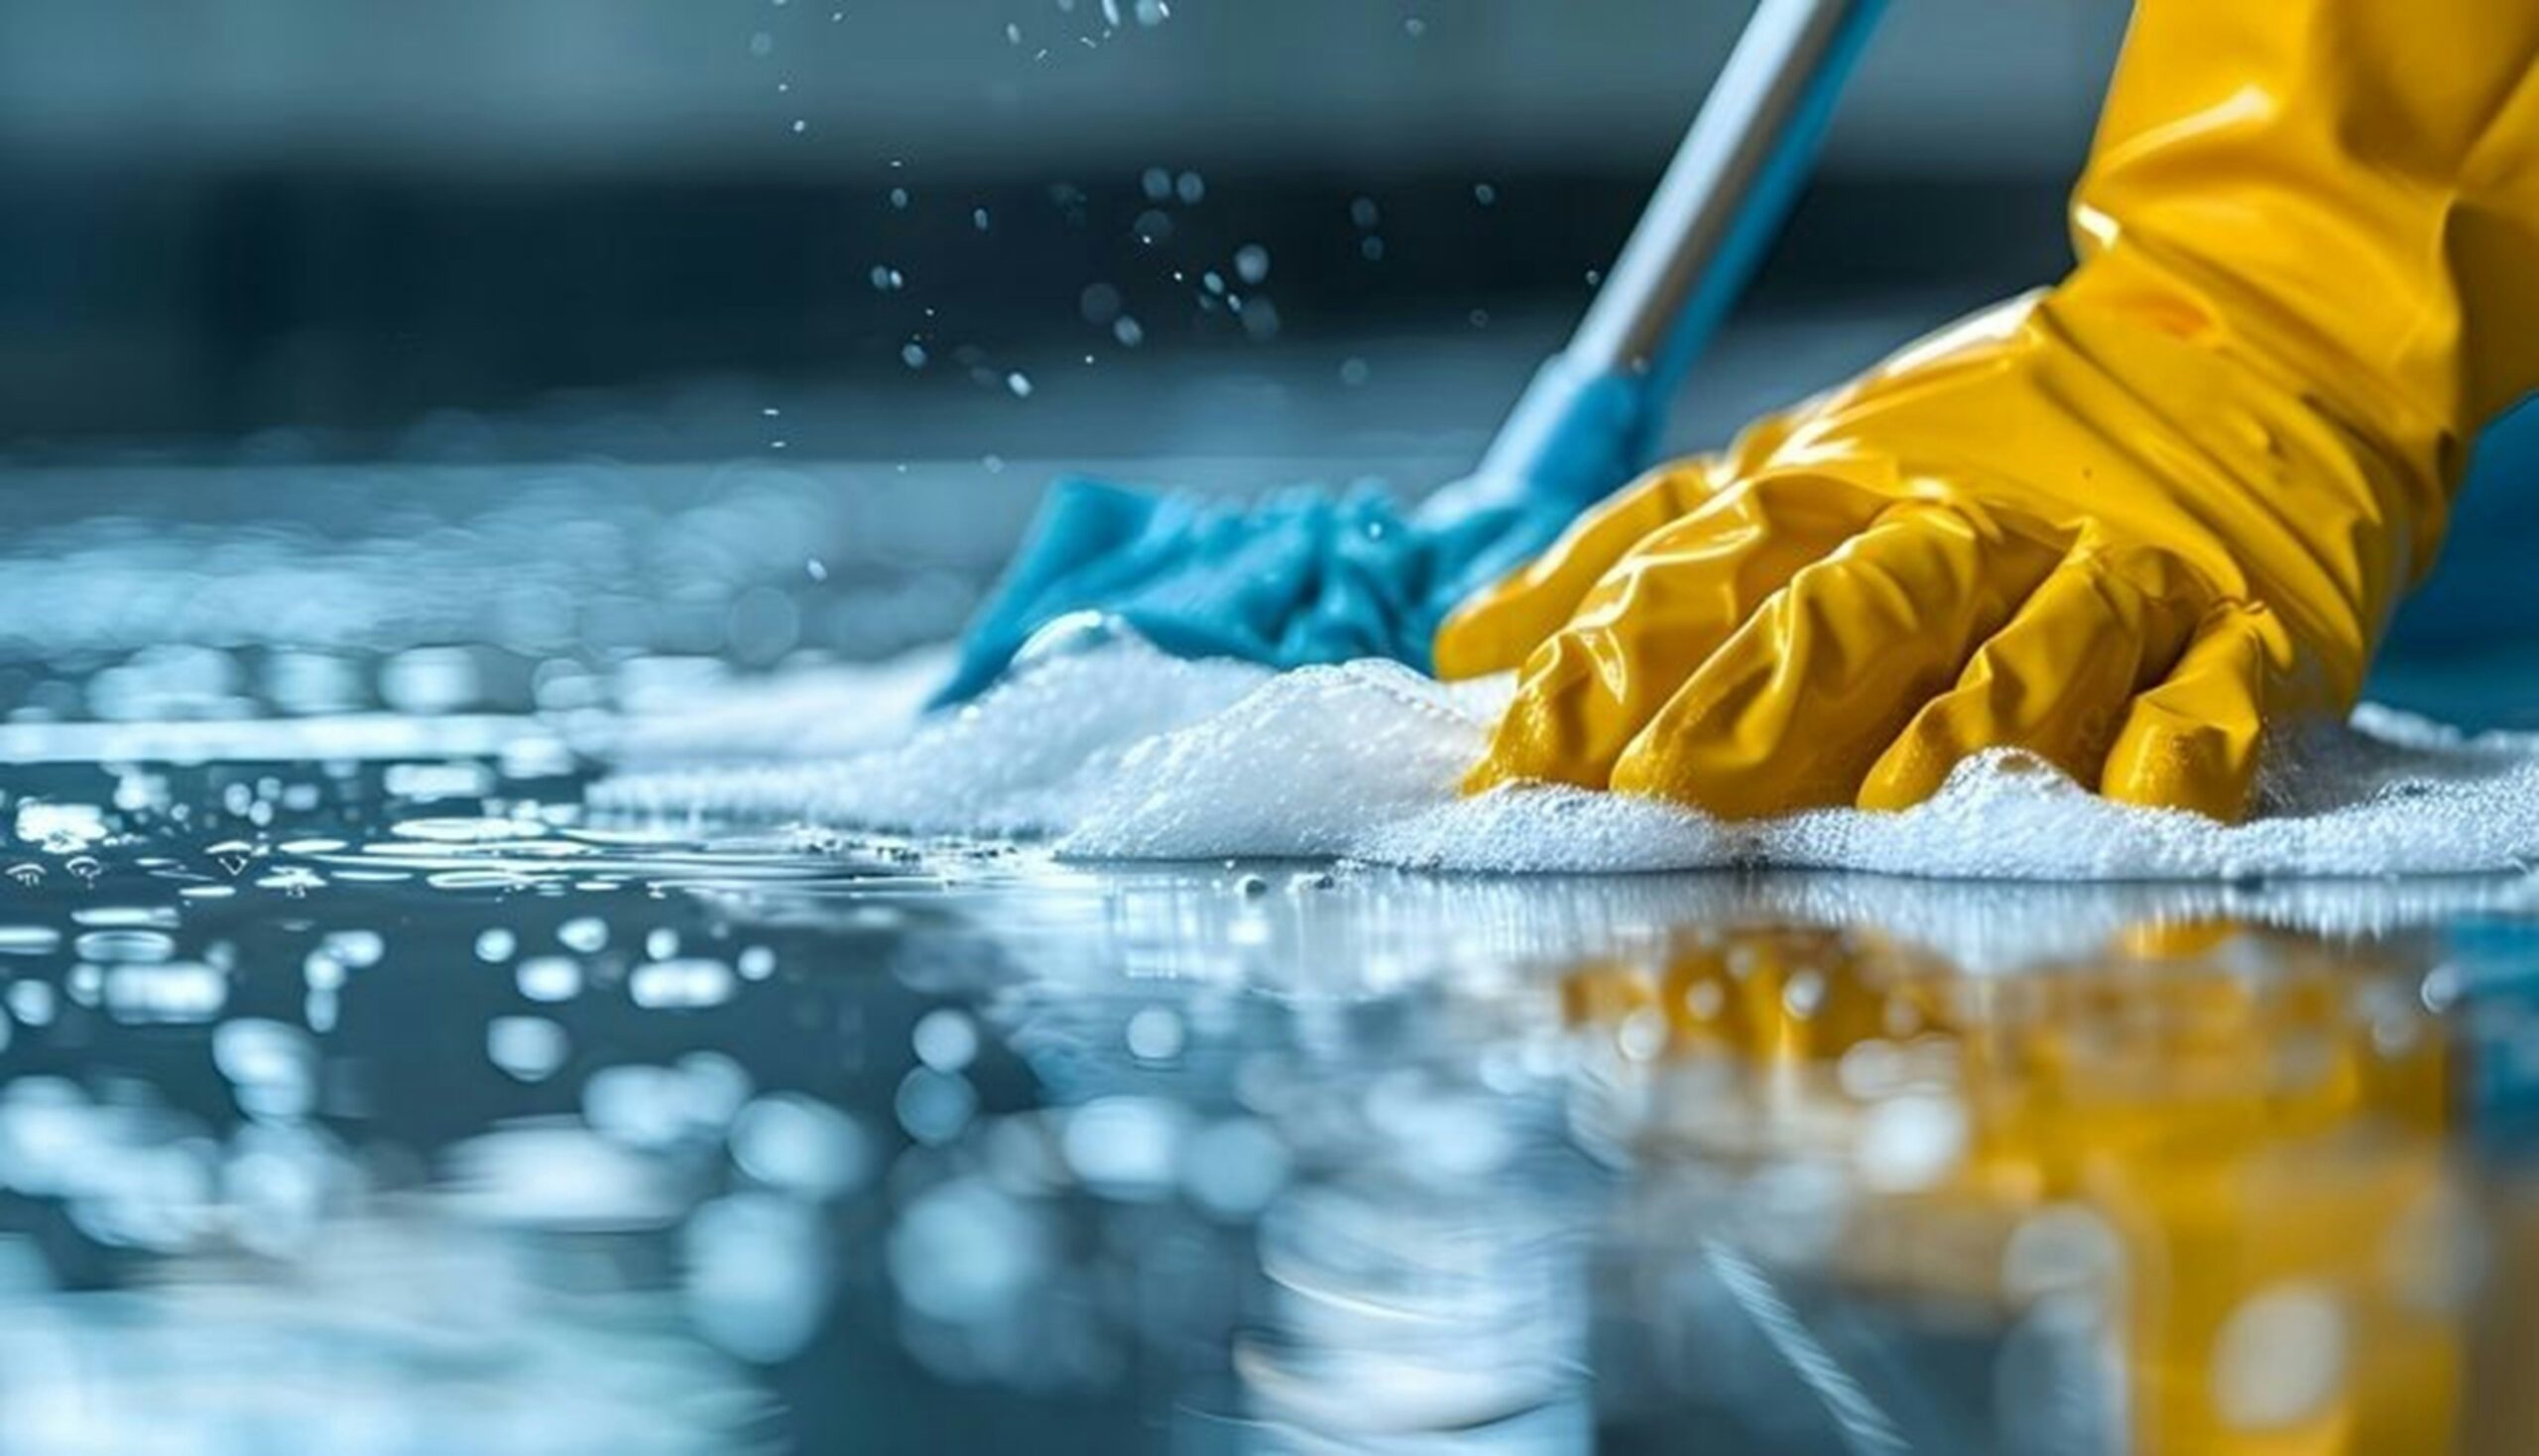
Cleaning a home, office, hotel, or commercial facility becomes much easier when you follow the right order. One of the simplest and most effective cleaning methods is to clean from high surfaces to low surfaces.
The idea is simple: dust and dirt naturally fall downward. By starting with higher surfaces and finishing with floors, you avoid cleaning the same area twice and can achieve a more thorough result with less effort.
Whether you are handling everyday housekeeping or preparing a space for professional cleaning, this simple technique can make your routine more efficient.
What Does “Clean High to Low” Mean?
Cleaning high to low means starting with surfaces that are higher up and gradually working your way down.
For example, instead of vacuuming the floor first and then dusting shelves, start with:
Ceiling → Fans & Light Fixtures → High Shelves → Furniture → Countertops → Lower Surfaces → Floor
When you dust or wipe higher areas, particles can fall onto lower surfaces. Since those areas have not been cleaned yet, you can simply clean them later.
This approach is particularly useful for regular housekeeping, deep cleaning and commercial facility maintenance.
Why Should You Clean From High to Low?
1. It Saves Time
Cleaning in the correct order reduces unnecessary work. If you clean your floors first and then dust furniture, dust will fall onto the floor and you will need to clean it again.
Starting from the top allows you to complete each area once.
2. It Prevents Dust From Spreading
Dust can easily move from shelves, cabinets, ceiling fans and other elevated surfaces onto nearby areas. Cleaning these surfaces first helps control where the dust ends up.
3. It Gives Better Results
A top-to-bottom cleaning routine allows you to work systematically rather than moving randomly around the room. This makes it easier to notice areas that may otherwise be missed.
4. It Makes Floor Cleaning More Effective
Floors should generally be cleaned toward the end of the process. By this stage, dust and debris from higher surfaces have already settled, allowing you to vacuum, sweep and mop the floor properly.
Step-by-Step: How to Clean High to Low
Step 1: Start With the Ceiling
Begin by checking the ceiling for visible dust, cobwebs or buildup.
Use an appropriate duster or extension tool to reach corners and ceiling edges. Pay attention to areas around light fixtures and ceiling vents.
Tip: Work carefully around electrical fixtures and avoid using wet cleaning methods where they are not appropriate.
Step 2: Clean Ceiling Fans and Light Fixtures
Ceiling fans can collect significant amounts of dust over time. Clean the blades carefully so that dust does not fall onto already-cleaned furniture.
Light fixtures should also be dusted and cleaned according to the manufacturer’s recommendations.
Step 3: Dust High Shelves and Cabinets
Move to high shelves, cabinet tops and other elevated surfaces.
Use a microfiber cloth or suitable duster to remove accumulated dust. For surfaces that require wet cleaning, use an appropriate product and avoid excessive moisture.
Step 4: Clean Wall Features and Frames
Next, check wall-mounted items such as:
- Picture frames
- Mirrors
- Decorative pieces
- Wall shelves
- Vents
- Switch plates
Clean gently according to the material of each surface.
Step 5: Move to Furniture
Once the higher surfaces are clean, work down toward furniture.
Clean tables, desks, wardrobes, chairs, cabinets and other accessible surfaces. Pay attention to edges, corners and areas that are frequently overlooked.
Step 6: Clean Countertops and Work Areas
In kitchens, offices and other workspaces, countertops often require regular attention.
Remove loose items first, then wipe the surface using an appropriate cleaning solution. Give extra attention to frequently touched areas and visible marks.
Step 7: Clean Lower Surfaces
Now move toward lower shelves, cabinet fronts, skirting boards and other surfaces closer to the floor.
Because you have already cleaned the higher areas, most of the falling dust has already settled and can be removed during this stage.
Step 8: Finish With the Floor
The floor should be one of the final areas you clean.
Start by removing loose dirt and dust through sweeping or vacuuming. Then mop using a suitable cleaning method for the flooring material.
Different surfaces such as tile, marble, wood, vinyl and carpet may require different cleaning techniques.
Common Mistakes to Avoid
Cleaning the Floor First
This is one of the most common mistakes. Dust from higher surfaces can fall onto a freshly cleaned floor.
Using the Same Cloth Everywhere
Different areas may require different cleaning materials. Using one dirty cloth across multiple surfaces can spread dust and grime instead of removing it.
Ignoring Hard-to-Reach Areas
Ceiling corners, the tops of cabinets, behind furniture and other difficult areas can collect dust over time. Include them in your regular cleaning routine.
Using Too Much Cleaning Product
More product does not always mean better cleaning. Excessive product can leave residue and may damage certain surfaces.
Cleaning Without a Plan
Moving randomly from one area to another can make cleaning take longer. A structured top-to-bottom approach helps create a more consistent routine.
High-to-Low Cleaning Checklist
Before finishing a room, check:
☑ Ceiling corners cleaned
☑ Fans and light fixtures dusted
☑ High shelves cleaned
☑ Cabinets and furniture cleaned
☑ Countertops wiped
☑ Frequently touched surfaces cleaned
☑ Lower surfaces and skirting boards cleaned
☑ Floor vacuumed or swept
☑ Floor mopped where required
When Is This Method Most Useful?
The high-to-low method works well for many types of spaces, including:
Homes: Bedrooms, kitchens, bathrooms and living rooms
Offices: Workstations, meeting rooms, reception areas and common spaces
Hotels: Guest rooms, corridors and hospitality areas
Commercial Facilities: Retail spaces, buildings and shared facilities
Deep Cleaning: Areas requiring detailed cleaning from ceilings and fixtures down to floors
Professional Cleaning Makes the Process Easier
A consistent cleaning routine can help maintain a space between professional services. However, larger facilities and heavily used environments often require more comprehensive cleaning and maintenance.
Professional housekeeping teams can follow structured cleaning procedures while using suitable equipment, tools and cleaning methods for different areas.
From housekeeping and soft services to deep cleaning, floor care and specialized cleaning, a planned approach helps maintain cleaner, healthier and more welcoming spaces.
Final Thoughts
Clean high to low is a simple rule, but it can make a noticeable difference to your cleaning routine. Starting with ceilings, fixtures and elevated surfaces before moving toward furniture and finally the floor helps prevent repeated work and keeps the cleaning process organized.
The next time you clean a room, remember:
Start at the top. Work your way down. Finish with the floor.
Elevate Your Premise’s Hygiene Standards with Vetted Professionals
Get a comprehensive site assessment, customized SLA roadmap, and fully certified manpower deployed within 48 hours.
Related Industry Insights
 Soft Services
 Pest Control
 Engineering